DIY Button Ponytail Holders
Dress up a plain hair tie with a customized fabric covered button in just minutes. Seriously, these are so easy, I made a few with one hand while I held my toddler.

All you need are a few supplies, and you can have your own set of button ponytail holders to match many of your outfits!

The buttons, mold and pusher can be found in a kit at almost any craft store. I bought my kit that included the mold, pusher and 2 buttons for $2.99.
1. Cut your fabric squares (or circles). Depending on how large your buttons are, you can decide how big your squares need to be. Excess fabric will be trimmed. If you cut them into circles instead of squares, you will have less excess fabric to cause bunching.
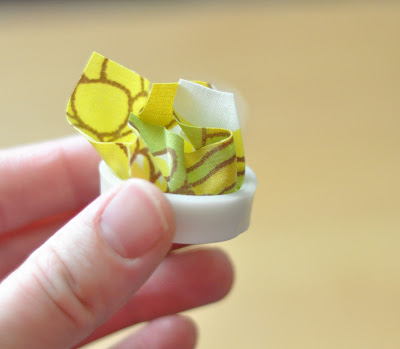
2. Place your fabric square wrong-side-up over the mold.

3. Place one button front face down into the mold.

4. Push it down all of the way.

5. You will have excess fabric...if there is bunch, you can trim it. If you leave it, the back may not go into the button firmly.
6. Trimmed fabric...make sure all edges are pushed into the center.

7. Place the button back into the mold. You can push with your fingers or use the pusher. You will hear a little "pop"....once pushed as far as it can go, your button is made.


9. String a hair tie through the back

10. Enjoy your new ponytail holder!