DIY Invitations 101
I remember when I got married 5 years ago...I handmade many things such as my guest book, programs, napkin rings, veil, and a few other things.
I was so intimidated to try my invitations, and now after spending the last 3 years making invitations for other people, I don't know why I didn't do it! A lot has changed in 5 years, though, and there are tools that weren't there before, such as the Silhouette.
I dont' have one of those {wish I did}, so I am going to share with you some simple DIY Invitation ideas that anyone can do with some cardstock, a printer and paper cutter and craft store items. No fancy($$$) tools required, but patience and time are key!
The basics of an invitation are:
Tools I recommend you do have:
* How do you invision them to look?
One of the biggest decisions to be made for your event will be what your invitations will look like. Invitations are the initial reveal to a potential guest about what your event will be like.
Will it clearly state the details of the event?-It should
Will it be so beautiful that even the mail man will wonder what the beautiful stationary is meant for? Hopefully!
Draw out a plan on scratch paper if you are wanting something custom.
If you are fine with having an invite anyone else can order, there are a plethora of printable wedding invitations on places like ETSY, Shutterfly, etc.
Type in the word "paperie" and see what shops reveal themselves if your try online!
*Ask yourself about size? (5x7, 4x6, square, shaped?)
Keep in mind square invitations cost more to mail and the envelopes cost a little more too.
Popular sizes:
*Do you want layers of cardstock or a simple flat sheet of cardstock?
Most of my invitations made were 5x7, with a 4 1/2x 6 1/2 layer on top, but both options look very nice. The more layers, the thicker the invite will be. Investigate paper companies in your area. This will prevent you from having to order cardstock and envelopes online with added shipping costs. The people in the paper store (I go to Kelly Paper) are very helpful and resourceful.
If you do need to go online, envelopes.com has a large variety of envelopes to use.
Make sure your envelope is slightly larger than the invite you are cutting.
For cardstock, I like to order my cardstock in bulk online or at Hobby Lobby.
Scrapbook.com often has heavyweight cardstock online, and am local to their office, so I just pick it up to avoid shipping. However, they do offer random "free shipping" days, so be on the lookout if you choose to get cardstock through them.
I especially like their Bazzill white smooth texture cardstock, and orange peeled texture cardstock for invitations.
*Will you need embellishments?
Dress up a plain invitation with embellishments! If you can't afford to make your own invitations or do not have the time, maybe consider getting a super simple and plain flat invite printed somewhere else, and then embellishing that with an extra such as a satin flower band, button, beading, a ribbon bow, etc. Don't underestimate the beauty of stamps and stickers nowadays...Ive seen some beautiful stamps and stickers.
These little touches can do a lot and save on the spending!
They add that personal and handmade touch for cheap!
Plan ahead and look out for sales on ribbon or other embellishments far in advance.
Did you find some on sale that you like? Most craft stores will order more for you at the sale price or give you a raincheck if you just ask.
Keep in mind that bumpy things like bulky buttons or beads will add postage costs.
*What font and wording will you use?
I recommend visiting a computer supply/office supply store. One of the best things I bought was a cd of fonts that were meant for weddings. I got a ton of pretty fonts in a download that took a few minutes. If something ever went wrong with my computer, and I needed to reload them, I had the cd and it was simple. The fonts were quick to use, and I had no worry of copyright infringement.
You can also utilize sites like www.myfonts.com. They have so many creative and beautiful fonts! Be prepared to pay for each font you want, although, they do offer some for free!
Some are strictly for personal use, so be aware.
Let your font coincide with the feel of your invite. If your event is fun, try a fun font, whereas more formal fonts can be used in more formal circumstances.
*How to type up the wording?
If you happen to use Microsoft word, my first suggestion is to set your page size to the size you will be having for the writing layer of your invite. If you want a 5x7, for instance, go to the upper left hand toolbar and select PAGE LAYOUT--SIZE, scroll down and set the page to 5x7. This will help you know where your boundaries are and visualize exactly how your wording fits to be printed.
I also prefer the margins option be on "narrow".
If you click the HOME tab in the upper left, set your text to be typed where you want it on your invitation. Most of the time I used center, but it can be whatever you want it to be.
Play around with the fonts, and your wording style.
Decide what information you want to be displayed:
Full names? Monograms?
Venue AND address?
Formal wording or simple "You're Invited"?
Dates can be written many ways, so find the one that suits you!
ex. May 10, 2012
Saturday, the Tenth of May Two Thousand Twelve
5-10-12
*Don't underestimate the use of clip art!
There are hundreds of clip art graphics ready for you to use on ETSY, and most you can buy for just a few dollars. Almost every shop allows them for personal use, and some allow them for commercial use if you intend on using them for your invitation business.
The nice thing about clip art is, you can customize it to fit your invitation, and also use it in multiple places for your events at any time.
Carry a theme throughout your invites, place cards, tablescapes, etc with the use of clip art!
*Get the most out of your cardstock
Tomorrow I will show you the best way to get the most out of your cardstock without waste!
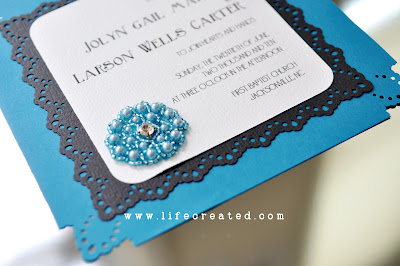
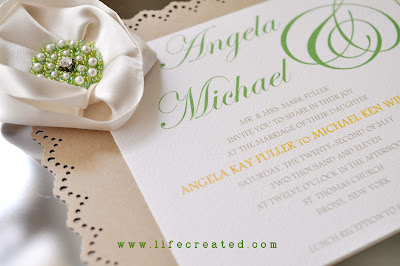
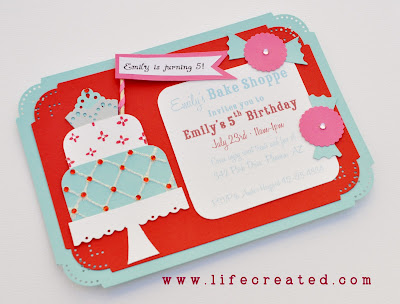
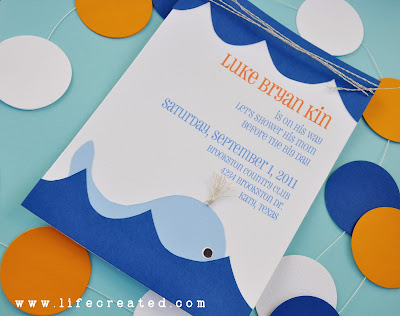
Here are a few invites I have made that use some of these ideas I have shared...take a look and feel free to contact me if you ever need assistance making handmade invitations for an event.


+copy.jpg)


