Making a Vintage Pillowcase Dress
The pillow cases I like to make dresses with have hand-done embroidery along the bottom edge. The unique artistic feel hand embroidery gives, makes the dress even more meaningful. Someone took time to stitch these stories onto the cases, and most of them come in a pair.
Here is a picture of a dress I made for my daughter using a handmade vintage pillowcase. This one is a bit different, because instead of embroidery there is border detail and the case is printed in a floral pattern. I love it.
To get started, I pulled out some pillow cases that I have had hiding in my fabric bin...here are a few that I have...this tutorial will involve the butterfly pillowcase.
DISCLAIMER: Pillowcases will vary, so make your pillowcase dress with the measurements you are going to desire for your dress. I will tell you my measurements, but feel free to change anything to fit your desires for your dress.
How Rachael Ray is with cooking, I am with sewing. I eye-ball a lot of things, and estimate measurements to the nearest 1/2 inch...I like making things out of my head, so you may hear the word "estimate" or "approximately" a lot in this post ;)
Here are the steps I took to make a dress with a pillowcase.
1) I ironed my pillowcase, and laid it out on my big rotary mat. I highly suggest you get one if you like to sew...they are invaluable. My pillow case was 33 inches long.
2) I determined how long I would want the dress to fit, and determined I want my dress to end up being about 21 inches long (give or take an inch). Therefore, I cut the top 11 inches of the case off using my rotary cutter, making the bottom half with the embroidery about 22 inches long.
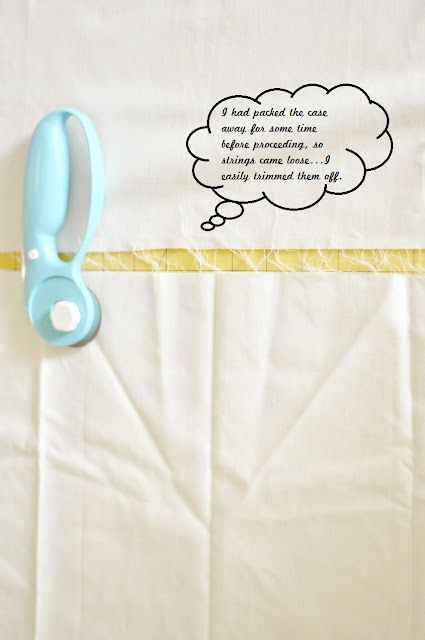
3) I put the bottom half of the pillowcase on the mat, and trimmed of any excess strings. The dress portion measured 22 inches, and the top 11 inches was what I needed to work with now.
4) I used the top 11 inches and centered it on my rotary mat. We will be using this top remnant to make binding for the arm holes of the dress. All you need to do is trim the bottom 2 inches off, and discard the rest.
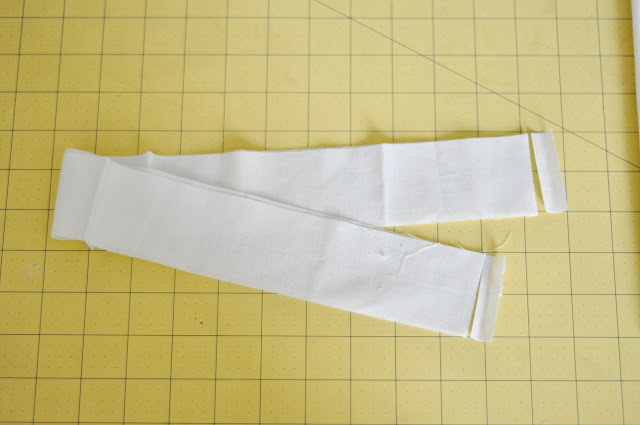
5) You now have a double-layered 2 inch strip. Cut of the ends to make the 2 layers separate.
6) Take the 2 strips, and iron them flat.
One strip at a time, take 1/2 inch from each side, and fold in. By folding in 1/2 inch on each side you will end up with two 1 inch binding strips that look like this:
7) Put your 2 strips aside, and let's cut the arm holes. Put the dress portion of the case back on your rotary mat. On a piece of card stock I measure 3 inches in the top left corner, and make a mark. I measure 5 inches down, and make a mark. I connect the 2 marks using the edge of a dinner plate.
Cut this shape out to be your arm hole template.
Place the 3 inch side along to cut edge of your dress (make sure it is evenly laid out)
8) Your dress will now have a shape akin to this...hopefully more symmetrical ;)
9) Take your binding strips and using one at a time, sandwich the binding along the armholes, and pin. Once they are pinned, you will be ready to sew closely along the edge of the binding.
10) Once your 2 armholes are sewn, you have to make sure the top edge of your dress is string-free. Iron it, and at the top edge, fold over the top 1/4th of an inch. Iron down well. Fold over another 1/2 inch and iron well.
11) Pin it down and sew! This will form the "pocket" for the ribbon to go through on your dress.
The finished pockets:
12) Pick out the ribbon you want! You will need 2 long strips cut to whatever length you will want...this will add some length to your dress once it is worn. It is better to have long ribbons you can trim to size later. I made mine about 30 inches long.
13) Use a safety pic to feed each ribbon through each pocket you just sewed.
15) Tie your bows


